Growing Tomatoes And Other Vegetables In A Kratky Method Inspired Hydroponic Bucket Featured
https://www.tool-rank.com/media/listing/photos/thumbnail/300x300s/c2/ae/06/Kratky-Tomatoes-Hydro-Bucket-1-51-1399926837.jpgA few weeks ago I posted on Facebook about my super simple method for growing hydroponic tomatoes with no electricity; and though this is not tool related, enough people seemed interested about it that I figured I would write up a full article explaining my Kratky hydroponics setup.
My design is inspired by Dr. B.A. Kratky from the University of Hawaii, who made a discovery that simplifies hydroponic growing. Hydroponics is the process of using a nutrient rich solution of water to grow plants without the use of soil; but you can't just put a plant a nutrient water and expect it to grow—the roots still need oxygen. The advantage of using hydroponics is that it uses less water versus traditional soil gardening, and you can better control the fertilizer
A typical hydroponic setup will use an electric air pump or another method to add oxygen to the water to make the plants happy. What Dr. Kratky discovered is that a plant will actually grow special roots that will absorb oxygen from the air, all you have to do is leave these roots exposed without letting them dry up. You can read Dr. Kratky's papers to learn more about his specific setup and his results, just Google "Kratky Method".
Using the Kratky hydroponic method as inspiration, I came up with something that is super simple and is really cheap. It requires no electricity and is the perfect setup to use in a prepper garden. Besides some tools, here is what I use: a bucket (2gal. or larger), a 16oz cup, hydroponic fertilizer (Amazon), hydroton (Amazon), water, and your plants. So let's get started on what I call the Hydro-Bucket.
Hydro-Bucket - Kratky Method Tomatoes
Step 1: Getting the cup ready.
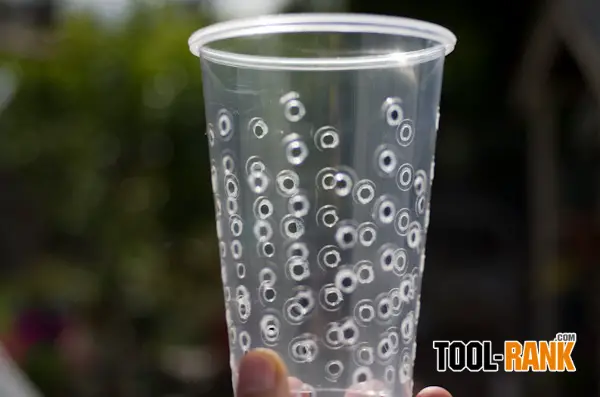
Use a drill or a soldering iron to make holes in a cup, the more the better. I use the tall 16oz. clear party cups, but you can use other sizes, you just might need a different sized hole saw.
Step 2: Getting the bucket ready.
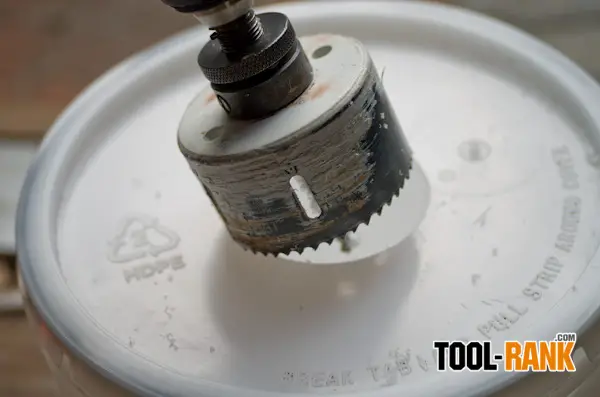
Use the hole saw to drill a 3-inch hole in the lid of the bucket. If you use a different sized cup, you might need a different sized hole saw. I am using a 2-gallon bucket because I can get them locally for $0.50 each. You can go larger, but I wouldn't go smaller.
Step 3 (optional): Digging yourself a hole.
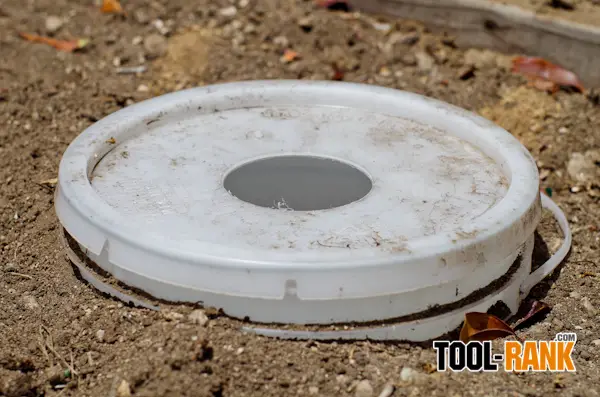
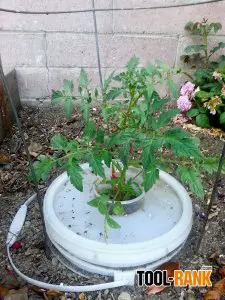
Bury the bucket into the ground. I am doing this to keep the water temperature from getting too hot during the day and too cold at night. It also keeps the light out, which reduces algae growth. If you are growing hydroponic tomatoes, which I am, it also allows you to place a tomato cage around the bucket for support.
Step 4: Getting your plants ready.
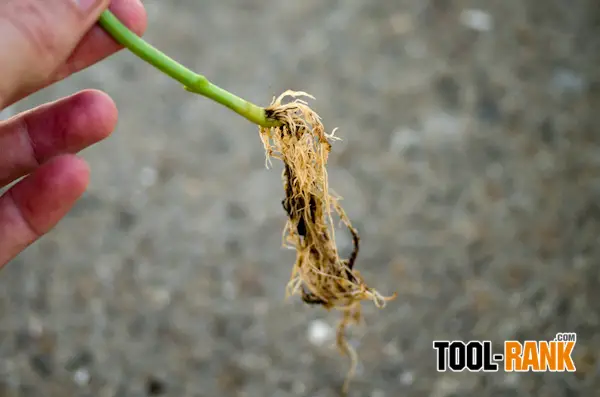
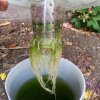
To get your plants ready you need to remove the soil. To do this I wash the soil away in a bucket of water, using my fingers to loosen it up.
Step 5: Planting in the Hydroton.
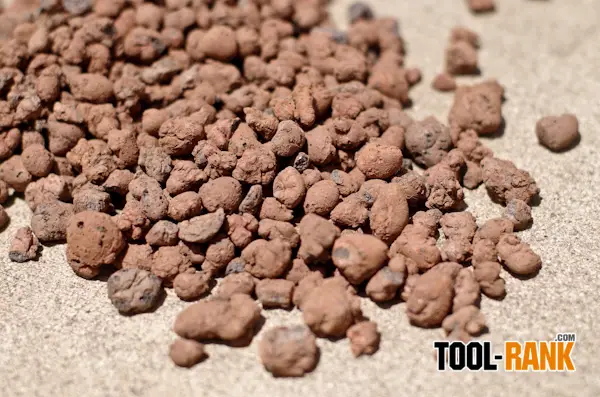
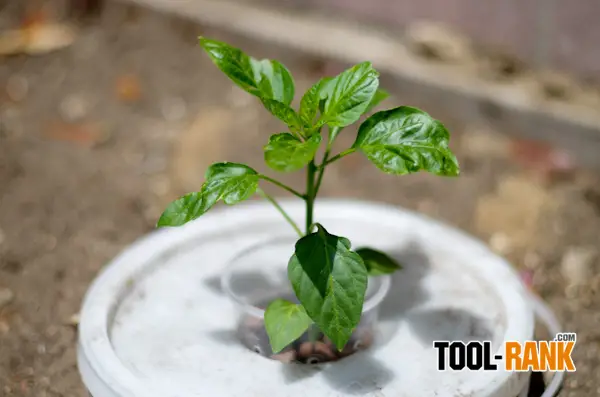
Plant your plant in your cup with holes and use the hydroton as your grown media. The hydroton is made out of clay and it does a good job of holding and wicking up the nutrient water from the bucket. The moisture is important for the new plant. You might be able to use another material, like lava rocks, but I have not tested it. One trick is to duck the whole cup, hydroton, and plant in water to make sure the roots get pushed down to the bottom.
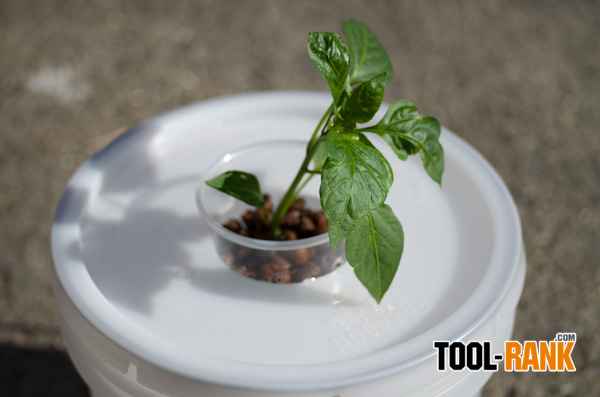
Step 6: Just add Hydroponic fertilizer water.
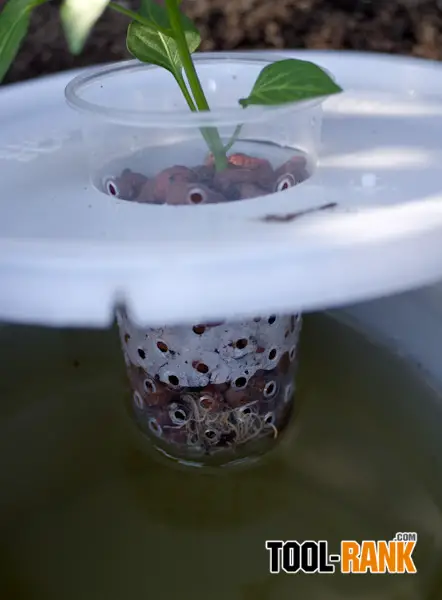
Put the cup in your lid and mix up your hydroponic fertilizer nutrient solution according to the instructions. I am using MaxiGro that I get from Amazon. You want to fill the bucket so that just ½-inch of your cup is submerged under water. If you go too high your roots won't be able to get air. I just let the lid rest on top of the bucket, there is no need to seal it.
Tip: Use rain water if you have it. Plants don't like the chlorine or the high PH of tap water.
Step 7: Refill as needed.
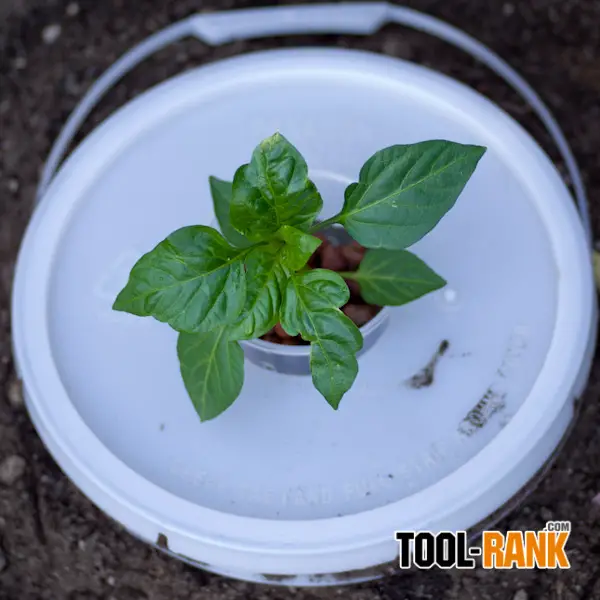
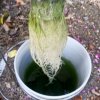
As you plant starts to grow, so will the roots. Once you start to get low on your water solution, you can add more as needed. However, you want to leave the top 5 or so inches of the roots exposed to air from this point on.
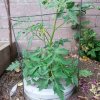
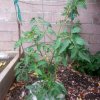
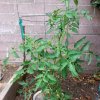
So far I am using my Hydro-Bucket to grow both bell peppers and tomatoes, but the Kratky method has been tested on lettuce and other vegetables. My Hydro-Bucket is an experiment in the works, but I am seeing good results. You can see the results in the gallery I am including below. Some might say you will get better results using an air stone, but they are noisy and require electricity.

